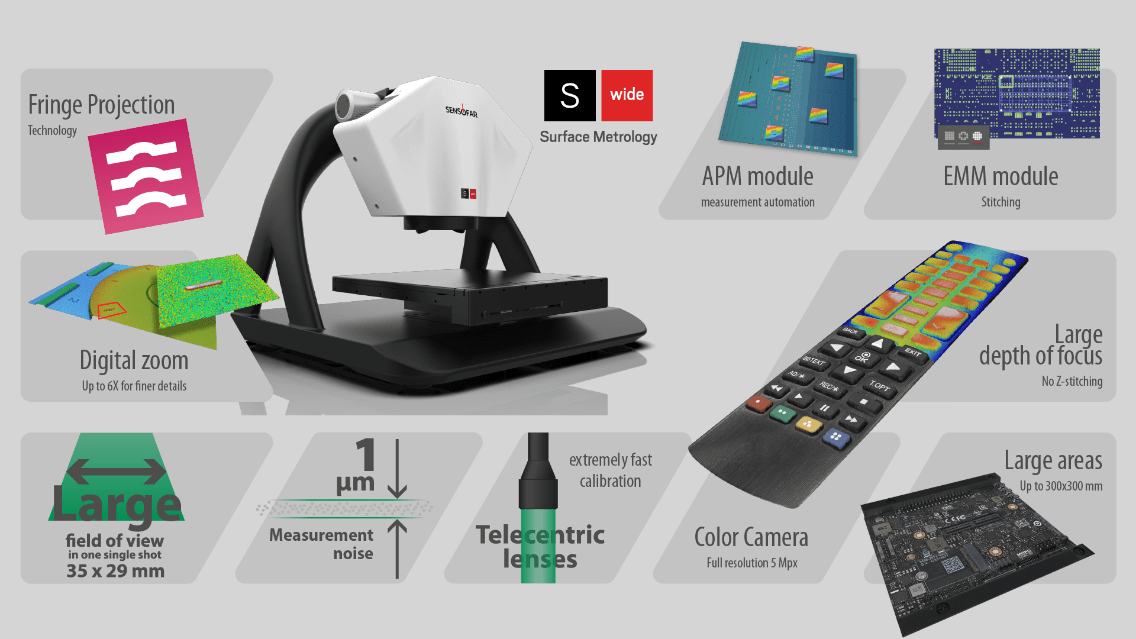
It only takes one second to acquire.
With S wide’s Fringe Projection technology and a suite of different acquisition modes, the measurements can be optimized to achieve the highest throughput.

QA IN MANUFACTURING
Easy to use
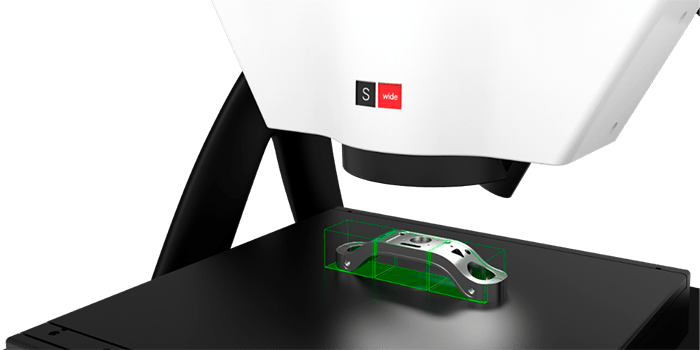
Measuring with the S wide is as simple as it gets: load the sample, load the recipe, and check the results.

QA IN MANUFACTURING
Easy to use
Measuring with the S wide is as simple as it gets: load the sample, load the recipe, and check the results.
HIGH-RESOLUTION 3D IMAGING
Capture every detail
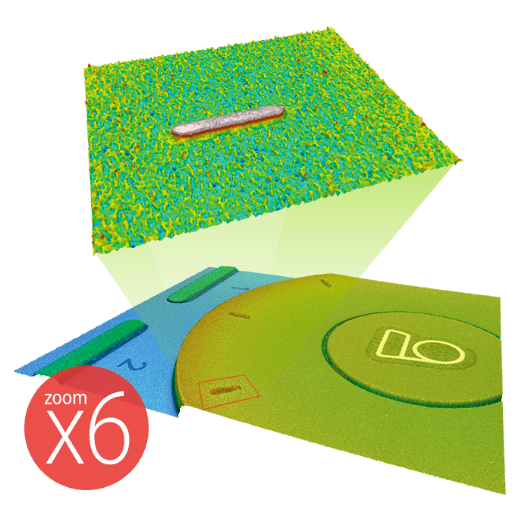
This 3D scanner features a 5 MPx color camera that, along with its digital zoom capabilities, captures a variety of details on your inspected parts.
INDUSTRIAL METROLOGY SOLUTIONS
Large setups
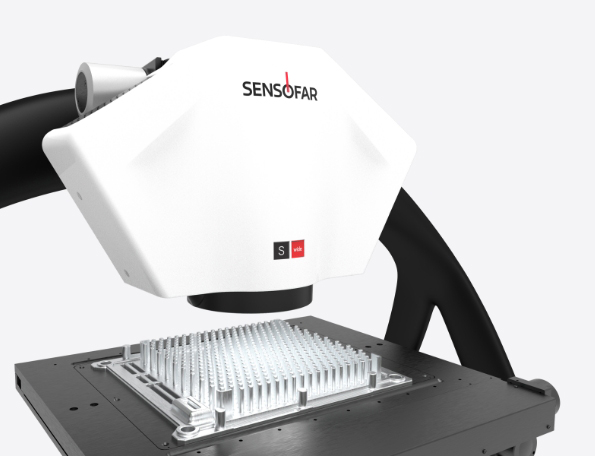
Measure numerous arrays of samples and large areas thanks to the 300 x 300 mm stage configuration.

PRECISION OPTICAL MEASUREMENT
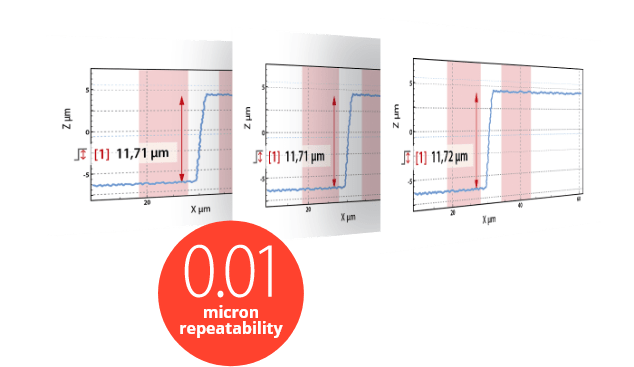
Submicron repeatability
The proprietary Fringe Projection algorithms used by the S wide result in remarkable micron-level accuracy, providing unmatched submicron height repeatability across expansive measurement surfaces.
ADVANCED SOFTWARE TOOLS
Meaningful data extraction
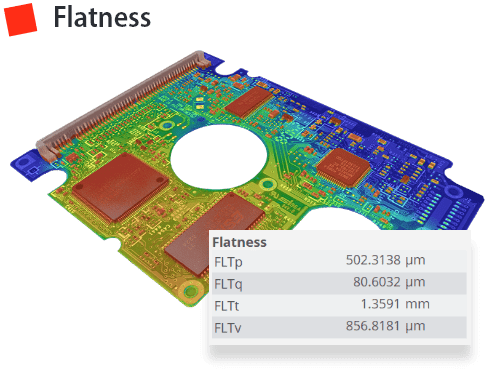
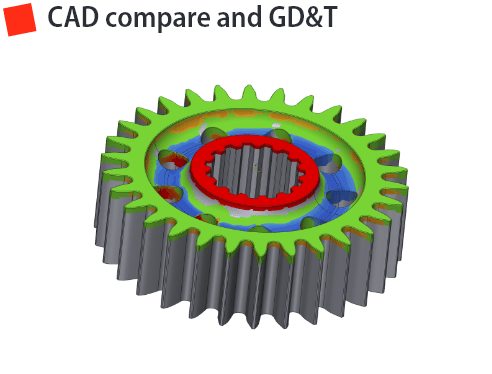
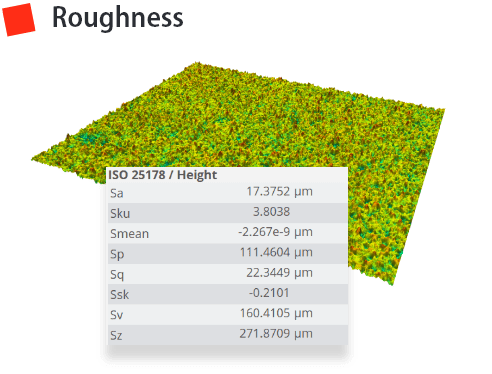
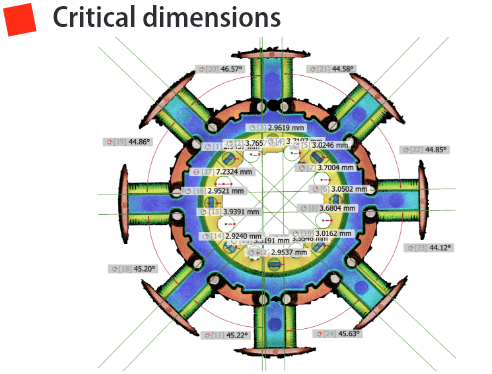
The S wide is packed with a suite of analysis tools to extract every piece of information from the measured data: roughness and flatness parameters, critical dimensions, GD&T, and CAD comparisons.
