WEBINARS
Sensofar Events
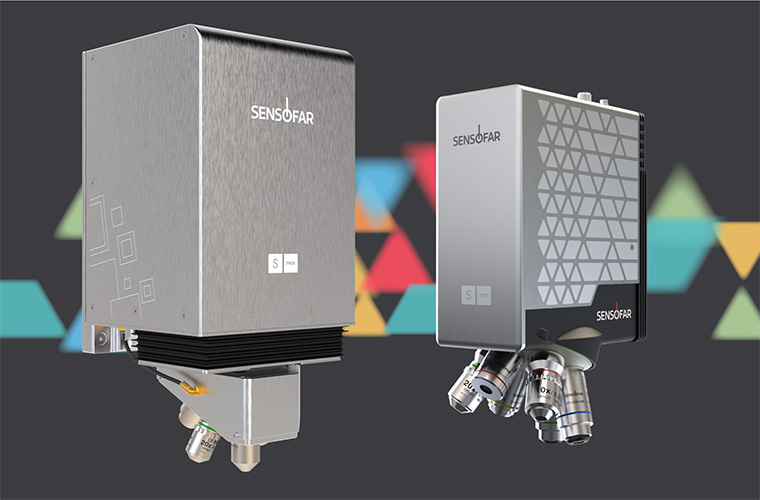
For 21 years, Sensofar has been listening to the clients and market needs, and now, we are proud to announce the launch of S mart 2 and S neox Cleanroom. Two new sensors that extend our sensor heads line. The S mart 2 is a technological disruption in areal metrology, and the S neox Cleanroom is our most powerful sensor, now compatible with ISO Class 1.
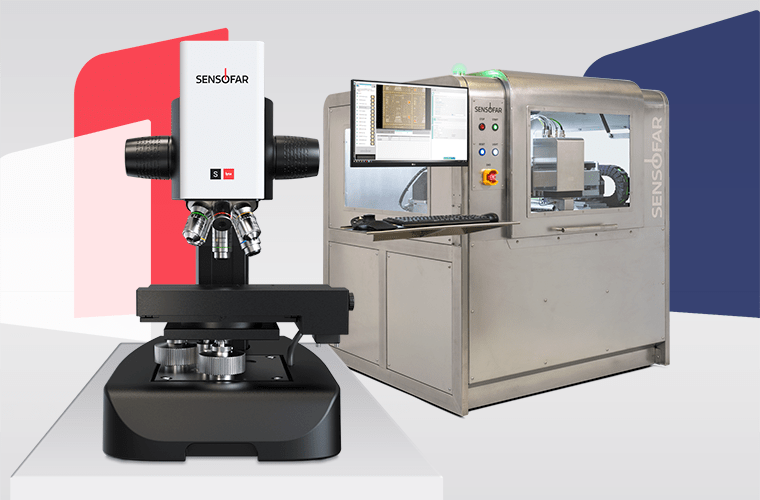
At Sensofar, we are constantly pushing the boundaries of what’s possible, and this event was no exception. We meticulously prepared an incredible showcase to introduce you to the newest members of our Industry & Research portfolio, the S lynx 2 & the S neox Grand Format, designed to enhance your experience and establish new benchmarks for quality.
Masterclass webinars
The ultimate guide to surface texture characterization
October, 2024
Discover the practical tools to assess surface texture accurately. You’ll learn how to drive research innovation, improve process efficiency, and meet industry standards, ensuring your projects and products stand out in a competitive market.
3D optical metrology techniques, the masterclass
April, 2020
The most popular optical measurement techniques found in most of the systems in the market, enable users to obtain the measurements they need in their surface metrology works.
Markets & Applications webinars
May, 2025
In this 3D precision metrology semiconductor webinar, you’ll learn about wafer-level testing to final device verification.
Bridging metrology and healthcare: Surface characterization of medical devices
June, 2024
Discover how our comprehensive solutions include general-purpose optical profilers and specialized surface inspection equipment for defect detection.
June, 2023
Learn about characterizing texture, flatness, and form of polished samples. Plus, gain insights into the fundamentals of surface measurement, discover the best technologies for accurate results, and understand how to calibrate your system effectively.
How 3D Non-contact surface measurement can improve your Additive Manufacturing process
June, 2021
Additive manufacturing produces parts with unique surface textures dependent on the printing technique, material used, and the process parameters. Through case studies, we will show how to measure and analyze as-built to post-processed samples.
Automated Inspection Training
October, 2022
Together with our CCAT partner, we will explore software capabilities and show how you can quickly extract sample data which enables fast identification of manufacturing defects and immediate generation of reports.
All you need to know about surface measurements in Tooling
April, 2020
3D optical profilers enable fast, non-invasive and accurate control of the manufacturing process, as well as the prediction of function performance of a wide range of tools.
Optical metrology solutions in the fields of Additive Manufacturing, Tooling and Tribology
February, 2022
A webinar to learn high magnification inspection of critical dimensions as well as surface finishes for additive manufacturing, medical devices, tribology and tooling applications.
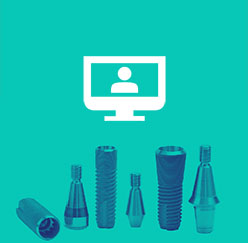
Best tips for Dental Implants surface characterization
April, 2020
An intense amount of implant research has been focused on the development of new surface treatments to increase surface roughness, aiming to enhance the biological response and ultimately, the osteointegration.
Why an optical profiler is crucial for Paleontology & Archaeology
June, 2020
How can an optical profiler help to discover the diets of extinct species? These and other questions will be answered during this session.
NEXT TALKS & WEBINARS
Follow our upcoming sessions!
Follow our upcoming sessions!
NEXT TALKS & WEBINARS
Follow our upcoming sessions!
Follow our upcoming sessions!


