Sensofar Interferometry
Interferometry has been developed to measure the surface height of very smooth to moderately rough surfaces, achieving same system noise at any magnification. For PSI, it can achieve system noise better than 0.01 nm.
BACKGROUND
Interferometry working principle
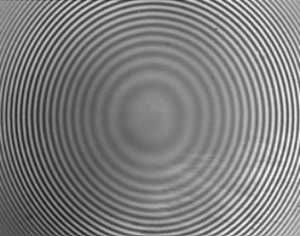
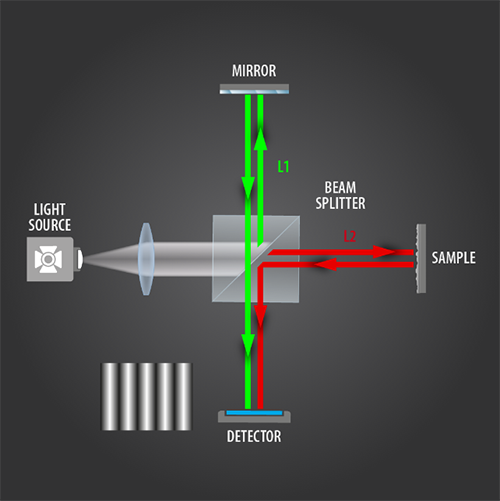
The working principle of Interferometry technology consists on a splitting of the light into two beams that travel different optical paths and are then combined to produce interference. Interferometric objectives allow the microscope to operate as interferometer; fringes are observed in the sample when it is in focus.

OPTICAL SCHEME
The optical scheme for PSI is the same configuration than FV but now using an interferometric objective instead of bright field. To obtain a topography the sensorhead is scanned along the Z direction. For PSI, few microns are scanned and the phase is retrieved. For CSI, as many microns are scanned as required to scan the full surface.
Phase Shift Interferometry
PSI has been developed to measure the surface height of very smooth and continuous surfaces with sub-Angstrom resolution, for all numerical apertures (NA). Very low magnifications (2.5X) can be employed to measure large fields of view with the same height resolution.
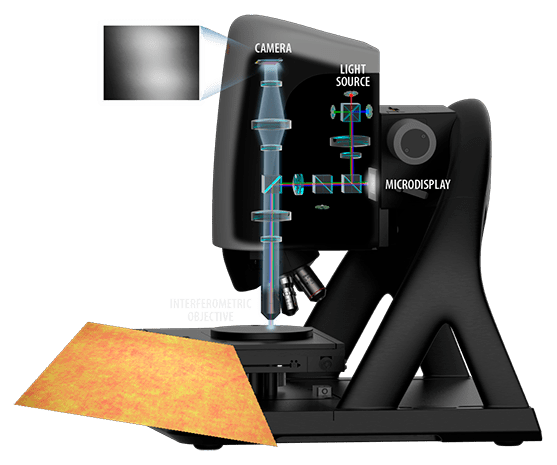
Extended Phase Shifting Interferometry
EPSI combines two interferometric technologies, CSI and PSI, overcoming the limitations of the two by achieving 0.1 nm of measurement noise in a larger range of some hundreds of microns.
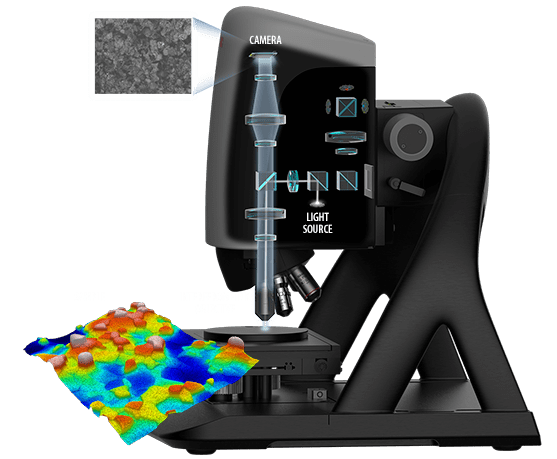
Coherence Scanning Interferometry
CSI uses white light to scan the surface height of smooth to moderately rough surfaces, achieving 1 nm height resolution at any magnification.
Read one of our related papers
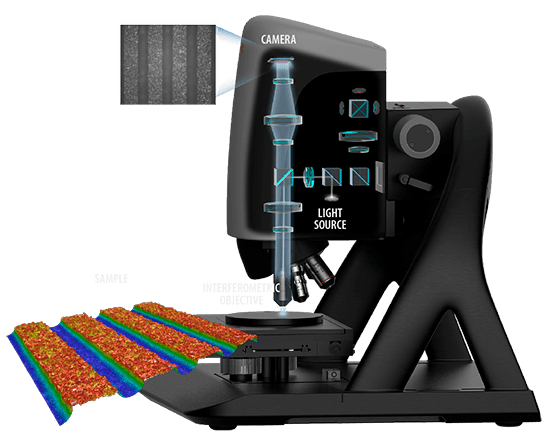
Do you want to know when to use each of them?
PROPRIETARY ALGORITHMS
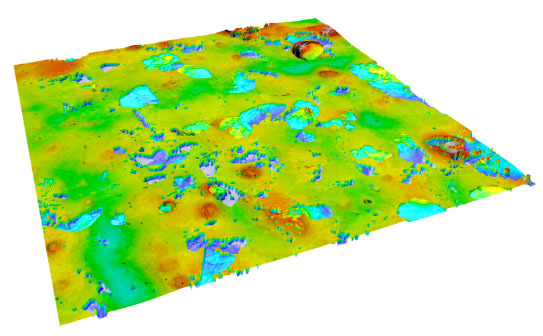
With Interferometry, the 3D measurement is performed with the maximum accuracy. It is possible to scan along the z axis to obtain fringes on the complete sample, obtaining height information from the intensity or the phase of the interferogram for PSI or CSI, respectively and reconstruct the 3D image with the obtained heights for the different pixels.
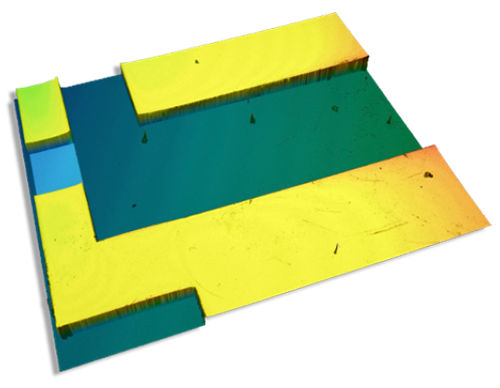
KEY FEATURES
Large FOVs with nanometer system noise no matter the objective
PSI: 0.01 nm system noise
Thickness measurements from 1.5 μm to 100 μm
ADJUSTMENT RING FOR INTERFEROMETRIC LENSES
At Sensofar, we’re always striving to improve the performance of our interferometry equipment. That’s why we’ve added a reference mirror adjuster ring to our 10XDI and 20XDI lenses. This small but mighty addition allows us to fine-tune the position of the reference mirror for each of our four light sources, ensuring optimal performance across the full spectrum of colors and resulting in even more accurate interferometry measurements.


