Residual flatness error correction in three-dimensional imaging confocal microscopes
Residual flatness error correction in three-dimensional imaging confocal microscopes full article
Carlos Bermúdez1, A. Felgner2, Pol Martinez1, Aitor Matilla1, Cristina Cadevall1, Roger Artigas1
1Sensofar-Tech, S.L. (Spain)
2Physikalisch-Technische Bundesanstalt (Germany)
Proceedings Volume 10678, Optical Micro- and Nanometrology VII; 106780M (2018)
Event: SPIE Photonics Europe, 2018, Strasbourg, France
Abstract
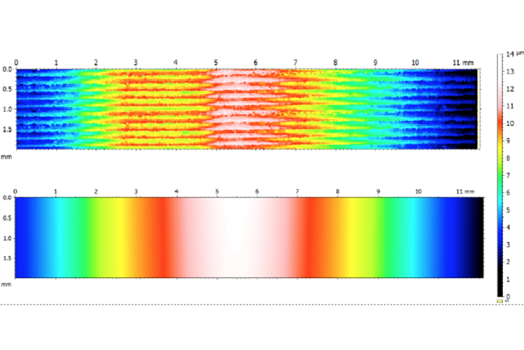
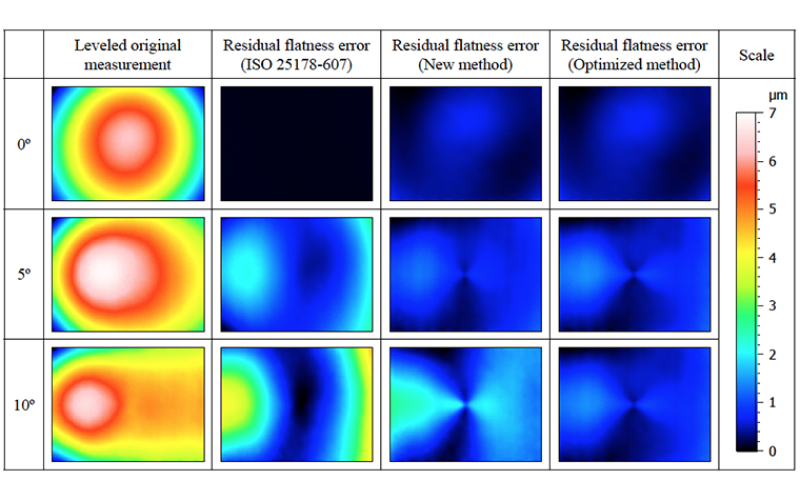
Imaging Confocal Microscopes (ICM) are highly used for the assessment of three-dimensional measurement of technical surfaces. The benefit of an ICM in comparison to an interferometer is the use of high numerical aperture microscope objectives, which allows retrieving signal from high slope regions of a surface. When measuring a flat sample, such as a high-quality mirror, all ICM’s show a complex shape of low frequencies instead of a uniform flat result. Such shape, obtained from a λ/10, Sa < 0.5 nm calibration mirror is used as a reference for being subtracted from all the measurements, according to ISO 25178-607. This is true and valid only for those surfaces that have small slopes. When measuring surfaces with varying local slopes or tilted with respect to the calibration, the flatness error calibration is no longer valid, leaving what is called the residual flatness error.
In this paper the Sensofar and PTB teams show that the residual flatness error on a reference sphere measured with a 10X can make the measurement of the radius to have up to 10% error. We analyzed the sources that generate this effect and proposed a method to correct it: we measured a tilted mirror with several angles and characterized the flatness error as a function of the distance to the optical axis, and the tilt angle. New measurements take into account such characterization by assessing the local slopes. We tested the method on calibrated reference spheres and proved to provide correct measurements. We also analyzed this behavior in Laser Scan as well on Microdisplay Scan confocal microscopes.


